Where do you begin if your company has the need for mobile application development? Mobile app development is booming. The rise of IoT technology, connected and wearable devices, AR, and VR will be driving the growth of the industry: the market is believed to reach $407.31 billion in the next five years.
This surely seems to be the right moment for entrepreneurs and businesses to focus on new growth strategies and make mobile app project plans. But, wait, where do you begin if your company has the need for mobile application development?
We’re going to dive into that and the fundamentals of mobile application development in this blog post.
Step 1. Do user research and elaborate on app features and architecture
Whether you opt-in for in-house app development or decide to collaborate with a mobile development company, your first application development steps will be research and elaboration.
Research is one of the fundamentals of mobile application development. Its main goal is to help you crystalize the app idea by deep-diving into your offering and business, user needs, and advantages and disadvantages of existing mobile solutions.
Once you have a good understanding of your target audience and competitors, you’ll be able to move on to the elaboration stage and define the scope of the mobile application. It’s highly recommended that at this point you gather as much input and feedback from design and technical teams as possible. They’ll guide you on how to plan an app successfully before you start working on the project.
The key questions you need to answer before moving to the next stage are:
- What features will the app have?
- What the app architecture will look like and what platforms will you develop for?
Additionally, by the end of these two application development stages, you should have estimated timelines and cost of the project as well as requirements for the mobile app team structure.
How do elaboration and design sessions work at Bamboo Apps?
We often offer clients that reach out to us with an app idea to have an elaboration or design session with our team. Such sessions help the app development process in so many ways, plus, they’re a great opportunity to meet the team and to see if your vision and expectations match with our expertise and the way we handle design and development processes.
During the sessions we work closely with the client’s team to further develop an app idea, combine user and industry insights with trends, design patterns and best practices to decide on the app functionality and UI. Then based on all that we work on an interactive prototype of the app.

When a more thorough elaboration is required, our tech team also creates a high-level solution block diagram of the app. We also advise a client on the tech stack, frameworks, SDK requirements and provide an estimate of timelines and resources to deliver the app.
Step 2.Create and test wireframes and a prototype
After you’ve adjusted your app development plan according to insights from research and elaboration, it’s about time for your application to start taking shape.
The app design process starts with drafting very simple sketches of app screens also called wireframes. They can be very far from final polished design, but need to accurately demonstrate how the planned features will work and look together. At the same time you’ll need to create a user journey and user stories that will explain the logic of user navigation through the app and features functionality.
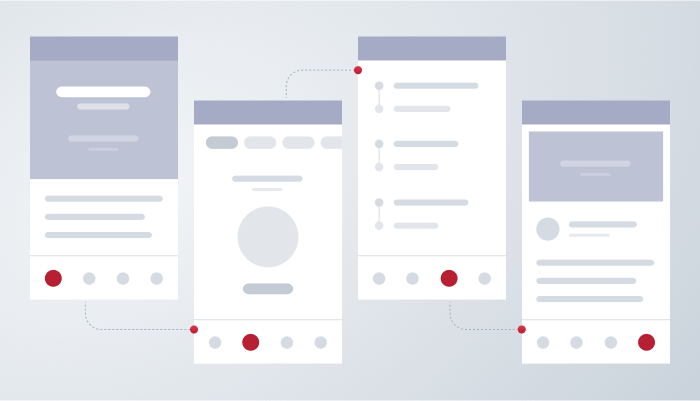
Once your team will finalize and approve wireframes, user journey, and user stories, you can move to the next step of the app development process and create a prototype.
A mobile app prototype is essentially a clickable simplified version of an application. With an interactive prototype of your application you’ll be able to further validate an idea, app design, and logic.
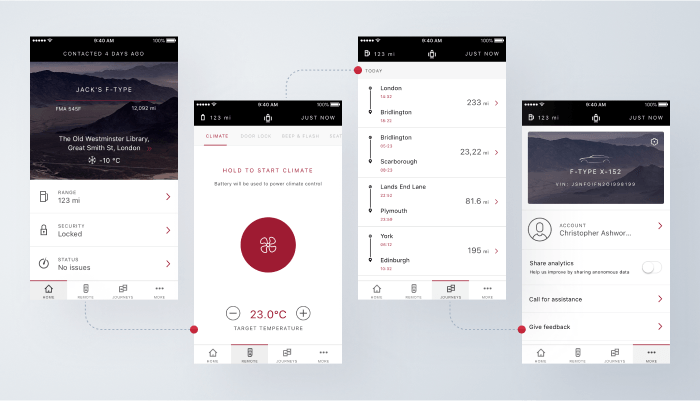
Focus on gathering as much feedback as possible, and don’t limit your tests with in-house teams. Try to do some testing with real users outside the company: observing and analyzing their interaction with the app will help to identify possible flaws or gaps in the user experience.
Testing and retesting is a normal part of applications development lifecycle, so be ready to adjust the app UI and UX design based on the feedback and to run a few more rounds of usability tests before you build a perfect prototype.
Step 3. Work on the app’s frontend and backend
Before you actually start working on the frontend and backend of your app, revise and update the information from the earlier phases of the mobile app development process.
If you’re outsourcing app development, consult with a team you’re hiring about:
- a choice between native and cross-platform mobile app development;
- required APIs, backend technologies;
- development team size and structure.
When you finalize the technical architecture and technology stack, discuss with the mobile development team the timelines and define development milestones. It will help to stay on track and launch the app on time.
If you didn’t plan through the delivery methodology and project management early in the application development lifecycle, work on it now. Everyone in the team needs to be aligned on the delivery strategy, roles within the team, expected deliverables and timelines for each iteration. Once the delivery plan is mapped out, it’s time to let your mobile development team do the magic.
Step 4. Test the app and fix bugs, if any
In addition to being stylish and easy to use, your app also needs to be secure and stable. Otherwise, app crashes or other bugs will negatively impact user experience.
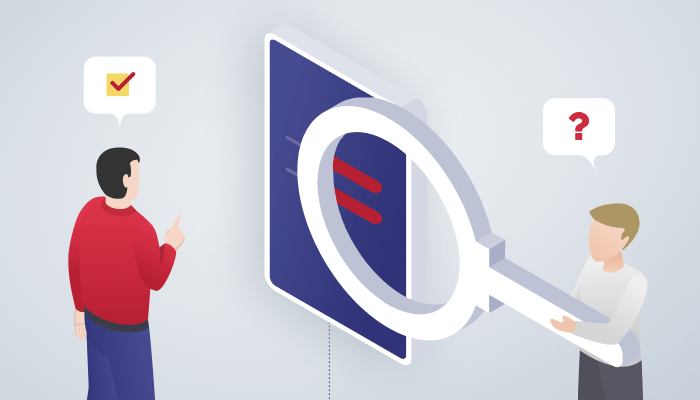
Testing, also called quality assurance (QA), should be among the most important steps to develop an app to avoid such issues. There many types of application tests:
- UI tests;
- functional testing;
- performance testing;
- security testing;
- device and platform testing.
Ideally, your QA team needs to be involved in the app development process early on when you elaborate on the application design and logic. Being familiar with application objectives and requirements will allow QA specialists to create accurate test cases, which are basically descriptions of all ways of interacting with the app that may reveal bugs.
Same as with prototype testing, you need to be ready to perform several rounds of tests. It’s also a good practice to run tests after every app development iteration.
Step 5. Deploy the app to marketplaces
After you successfully completed all rounds of testing and are happy with the design and performance of the app, the next logical step in the iOS or Android application lifecycle is release to Apple App Store or Google Play Market.

For that, you’ll need to set up a developer account and prepare all the necessary information (app title & description, category, launch icon, screenshots, keywords, etc.) that will be featured on the application’s page.
It might take some time for your app to be reviewed after the submission to a marketplace. When it becomes available for users, you can start tracking its performance and gather user feedback to work on future improvements, new features, and bug fixing.
Conclusion
We just came through the app development basics, but, as you noticed, the application development process doesn’t stop after the release. There’s always room for improvements of functionality, UX and UI as well as for new features capable of driving user engagement.
At Bamboo Apps, we go through all of these app development stages during each mobile app project we deliver for automotive, education, healthcare, insurance, and IoT companies. We make sure the process is simple and efficient, so our clients can focus on growing their businesses, while we handle mobile app development for them.
Get in touch with us if you have any questions about the app development process or need help with developing your app.
